Probably one of the most stressful parts of keeping dart frogs, is raising the babies. The sheer size of them and the amount of microscopic food required to get them to thrive is enough to make most people scared. Fear not, the knowledge and how to below will help!
Egg Stage
So they finally laid eggs. Now what?!
Egg color can vary from species to species. Mold is always bad and is an easy tell that the eggs are not fertile. Some species have all black eggs, others white, and some can even start white and turn black. I typically leave the eggs in until they either mold or develop.
From egg to water
Now that the eggs are showing development, there are several ways to move them. Depending on where they are laid will determine your approach.

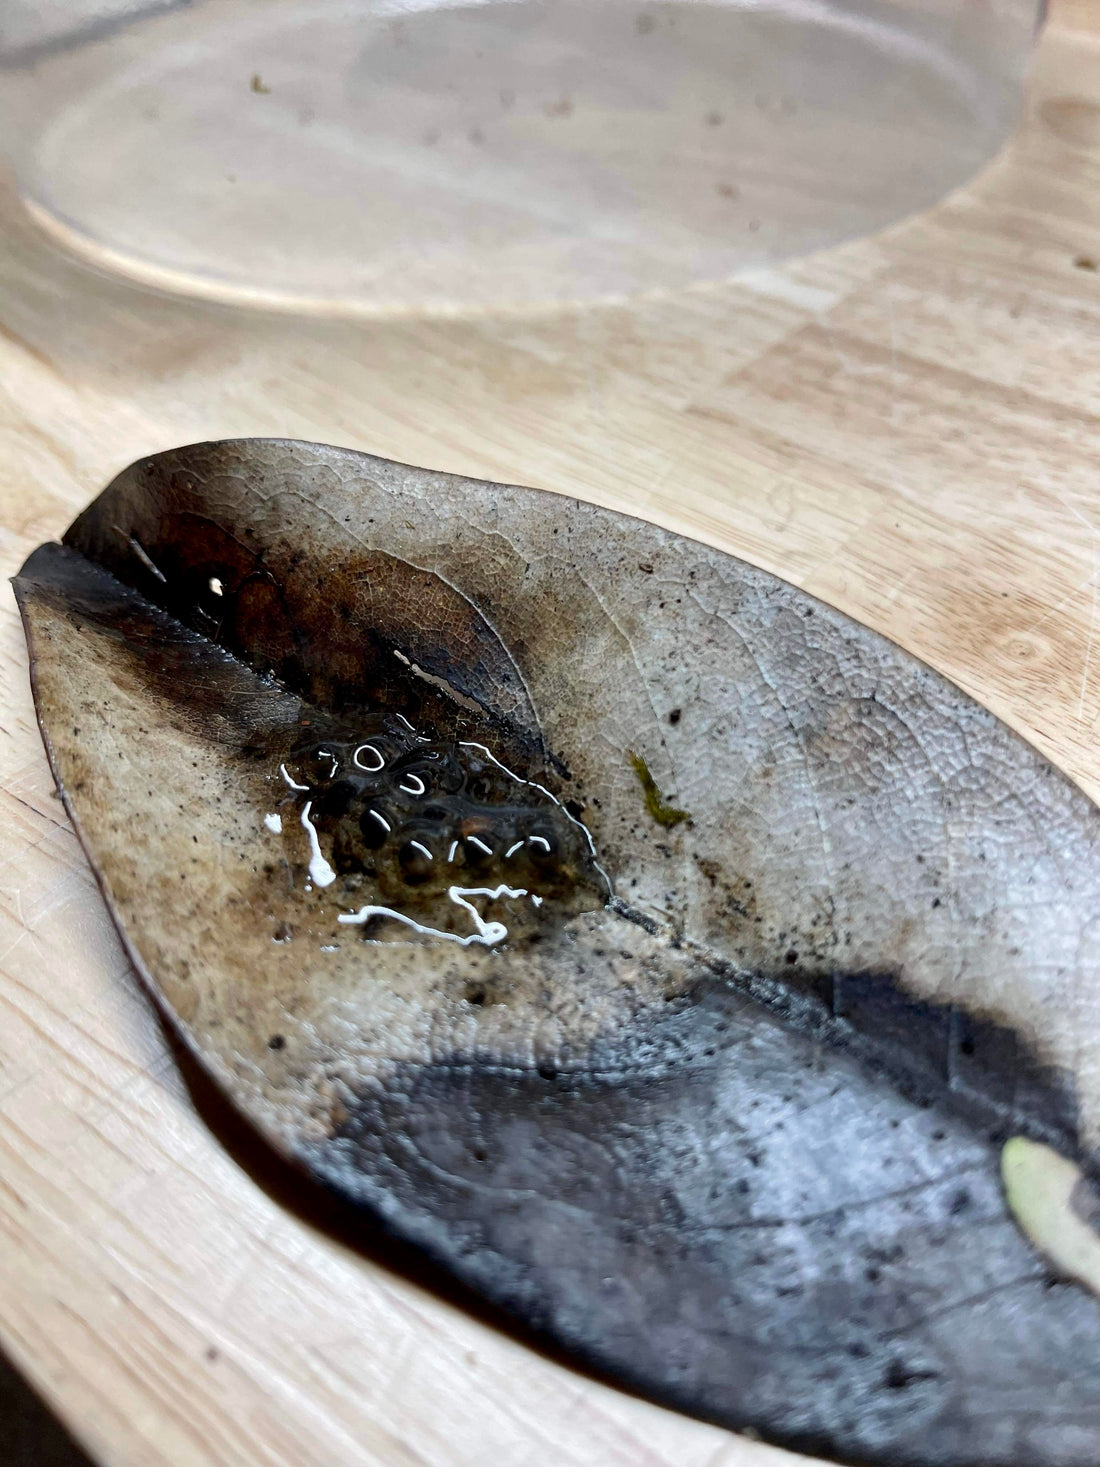
If laid on a leaf or leaf litter, we simply remove them(leaf and all) from the tank and place in an 8oz deli cup. We will use a pipette or turkey baster to add a little spring water, just enough to touch the sides of the eggs. Fully submersed eggs can fail and kill your developing tadpole.

Film canister? We also remove these and place in 8oz deli cups or directly into the 10 gallons at a slant. You want the eggs to be on the bottom of the canister

Occasionally the parents are sneaky and you wont notice eggs until you see them being carried. At this point, I will place a small dish with water inside the tank to allow the parents to drop them off at the kiddie pool. Once dropped off, they can be moved to the next stage
Tadpole stages
Congratulations! You were graced with a fertile, healthy clutch off eggs, and they have now hatched. Now what?
Once the eggs hatch in the deli cup, I will typically fill it halfway with spring water and add a small almond leaf. Maybe even some java moss if I am feeling up to it! I will typically keep them like this for around a week and the next steps depend on the species.
Communal Raising

If you have a communal species, they go directly into a 10-gallon fish tank with a sponge filter together. Substrate is not required, but we do like live plants in ours and typically use about 1" of Fluval Stratum. This allows us to plant some smaller plants while we have a few floating species as well. A turtle ramp for when they want to crawl out of water, and your setup is complete. There is a lot of discussion on water temperate, but we have found zero issues with room temp and do not use an additional heater.
Individually Raising
Perhaps you have a species that is aggressive and has to be raised individually? We have found simple is best and use 32oz fruit fly cups. A small piece of cork bark as a floating platform, a piece of almond leaf, and some java moss and you are ready! Once the tadpole develops, they will either crawl up the side of the cup or onto the platform. Alot of keepers will tilt their cups once they see the back legs develop to make it easier to climb out.
In Tank
I started most of my tadpole journey with in-tank raising. How nice is it that they fully develop from egg to froglet inside the parent's tank? Sounds amazing until a clutch of epipedobates morphs out and you are trying to catch 15 froglets in a well-established tank. We reserve in tank raising to a select few species. Oophaga, certain Ranitomeya, and our Mantella laevigata.
Diet
Most tadpoles are omnivorous and eat a variety of foods. Algae, fish/tadpole food, and leaf skeletons all complete their diet. We have had great success with tadpole bites, fish pellets, java moss, and small pieces of almond leaves.
Water Quality
Another topic of huge debate. What kind of water, how often do i change, etc. This depends on if you are raising communally or individually. Communal setups have a filter of some type and typically will not need a water change until all the tadpoles have morphed out. Individual animals however have a much smaller area and do require some 50% water changes every 10-14 days.
Froglet stage
Look at the cute little baby froglet! How tiny!!! Oh no, what do i feed it? What do I keep it in?
Housing

We find again, simple is best. We use 20QT gasket tubs with 2" screen vent, sponge filter media bottom, and an inch or two of oak leaves. A couple coco huts, some artificial vines, and microfauna make the setup complete. Microfauna is going to be a major factor at this stage. Well seeded grow outs with springtails and dwarf white isopods are going to ensure the animals are getting enough food. We try and get all of our froglets on melanogaster fruit flies as soon as possible to ensure they can be dusted in the proper vitamins and minerals and have noticed much faster growth once they are on FF. The simple setup allows us to easily pull froglets once they are ready to sell and clean the grow outs once empty. The amount of froglets per grow out will also vary based on the species but we have kept up to 10 smaller froglets in a single grow out for several months. Just watch closely for any skinny babies and seperate immediatly.

All the products we use daily are linked below.
